Configure Self Hosted Agent For Azure Pipelines
- doanhoavn
- Jul 23, 2022
- 2 min read
Updated: Jul 25, 2022
What is an Agent?
Agent is a server with the appropriate Operating System and the tools installed and configured.
Azure DevOps supports the following two types of Agents
Microsoft Hosted Agent – These agents are managed by Microsoft
Self-Hosted Agents – These are created and managed by the Customer.
Most of the times, using the Microsoft hosted Agents should be good. However, below are the scenarios in which you should look at configuring Self-Hosted Agents
If 10GB free space in the Virtual Machine (Agent) is not sufficient for your build needs.
When you want a Virtual Machine, whose capacity is greater than of Standard DS2V2
When you would like to use a Software that is not available in the Microsoft hosted Build Agents
In this article, we will focus on how to configure the Self Hosted Agents.
Step 1: Authenticate with a personal access token (PAT)
Step 2: Download and configure the agent
1. Navigate to the Organization Settings and click on Agent Pools menu item

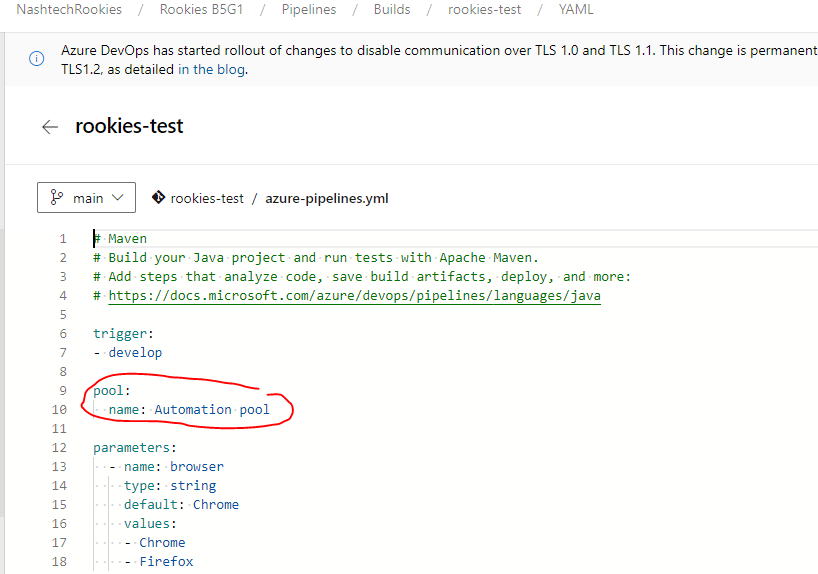
2. In the Agent Pools listing page, click on the Default Agent Pool as shown in the below screenshot. Feel free to create a new Agent Pool if you want. In this case, I created new pool named Automation pool
3. You will be taken to the Agent Pool Summary page where you need to click on Agents tab and click on New Agent button

4. Clicking on the New Agent button opens a popup which shows information on how to configure the agent in various Operating Systems and the Architectures (see left hand side)

In this article, I’m going to configure a Windows based Virtual Machine as an ADO agent.
5. Download the Agent by clicking on the Download button in the Get the Agent popup shown earlier and extract the zip file to any folder (D:\agents)
6. Run the config.cmd file which prompts you several questions.
(Use PowerShell)
Enter the Server Url: https://dev.azure.com/{your-organization}
Enter the authentication type (press enter for PAT) – Press enter for this step.
Enter personal access token. – Paste the PAT generated earlier
Enter Agent Pool – Press Enter if you are creating an agent in the default Agent pool, otherwise, provide the name of the Agent Pool
Enter Agent Name – Provide the Agent Name (In my case, I provided CustomAgent as the Agent name
Enter run agent as Service – Press Y for this in order to install & Run the Agent as a service in the Virtual Machine but you need administrator privileges for configuring agents as windows service. In this case I select No

To run agents, you double click run.cmd in work folder (D:\agents)

Now, agent is online

If you create new agent from new pool
If you create agent from Default pool


References


Comments